How to Create Protected Password and Private Page in WordPress
Want to make your selected page to be private or protected?
For those using the WordPress website, it is simple to create a protected password and private page.
Some company provided a membership page where only members are allowed to enter to the page. Usually the companies also want to avoid people from taking any confidential information or duplicate the same information.
To start off, create or select a page that you wish to protect with password.
- Under Publish, look out for Visibility. On default mode, it will set to ‘Public’.
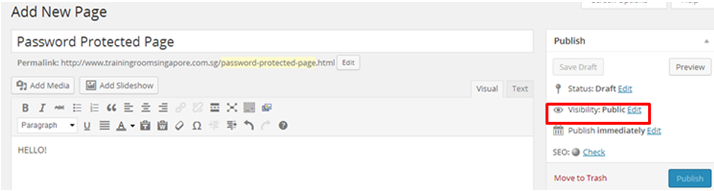
- Click on ‘Edit’.
It will show you 3 different radio buttons which are ‘Public’, ‘Password protected’ and ‘Private’.
For ‘Public’ is to allow people view all of the pages which means the content is visible to everyone. Refer to image below.
As for ‘Private’ can only allow people who have the permission to see the private content and including yourself, administrator. Those visitors will not be able to see the private content.
Last is the ‘Password protected’, which only allow people with password only can access to the page. This is to protect the exclusive information and as well security of the page.
First start is to create the password protected page.
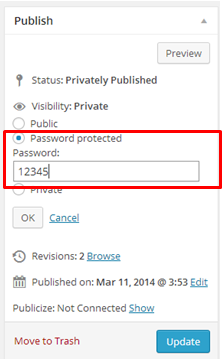
- Click on ‘Password protected’.
- It will appear ‘Password’ textbox. Key in your password.
- Click ‘OK’.
- Click ‘Publish’
- Click ‘Preview’ for you to check if it is working.
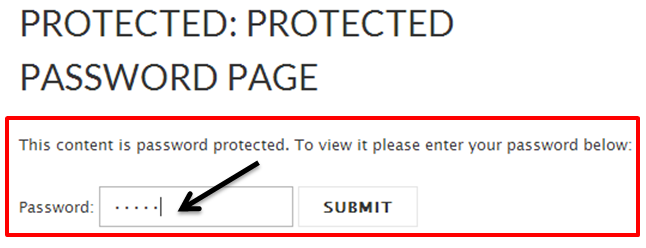
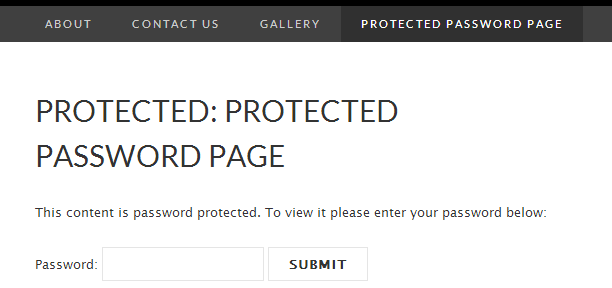
As you can see from the picture below, it shows the password textbox when you view the page.
- You may try to key in your password you have created earlier on.
- Click ‘Submit’.
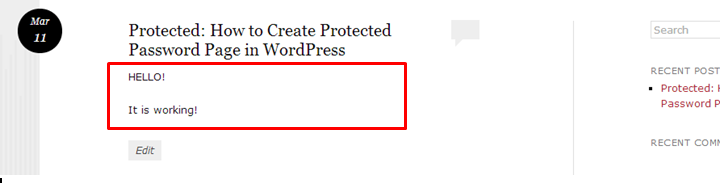
- It will show another page, you can see and read the contents. (Refer to the image below.)
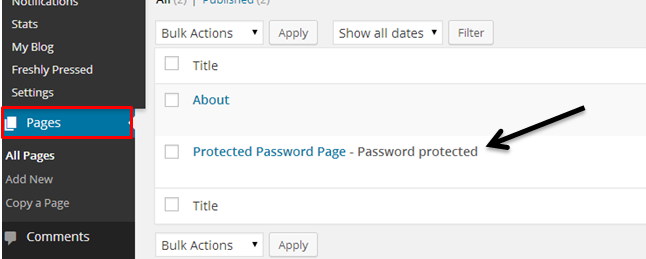
For the administrator can have a quick check of the pages whether if it is password protected.
- Click the ‘Pages’ which can found at the left side of the navigation.
- It will appear the pages you have created.
- Do not click the page yet just hover your mouse to the page, it will appear ‘Edit’, ‘Quick Edit’, ‘Trash’ and ‘View’.
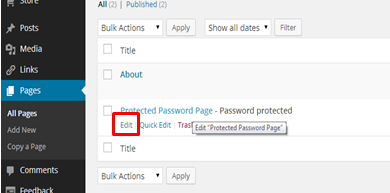
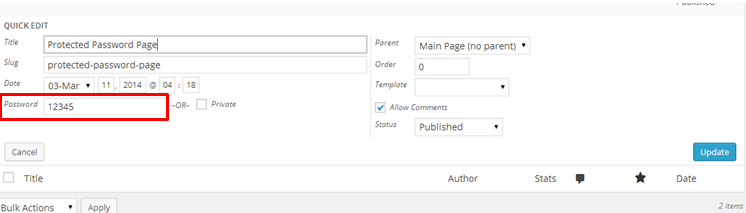
- Click on ‘Quick Edit’.
It will appear another tab which you can refer below. This is another way to make some changes to the ‘Password protected’. To know if it is ‘Protected password’, check if there is password has been entered and after amendements made, click ‘Update’.
You have done creating Protected Password page.
Let’s proceed to create Private page.
- Do the same steps by either adding or creating new page with contents as well.
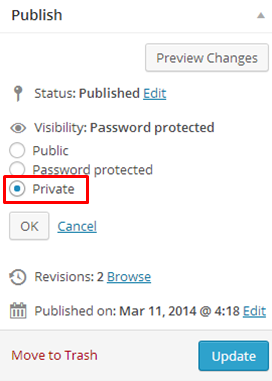
- Once done, click on the page and go under the ‘Publish’ on the right side.
- Select ‘Private’ under the Visibility. (You may refer to the image below.)
- Click ‘OK’ then Click ‘Update’.
- Lastly, Click ‘Preview Changes.
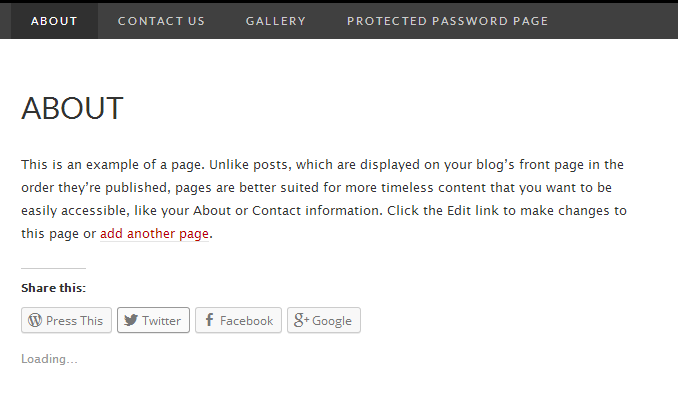
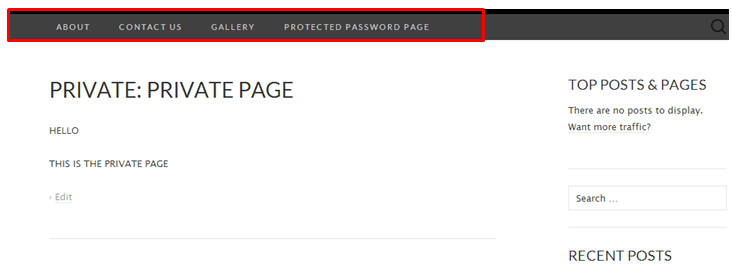
Once you have click ‘Preview’ after publish, you will be able to see your private page which has been created. This page will not appear at the Menu bar which has been highlighted in red.
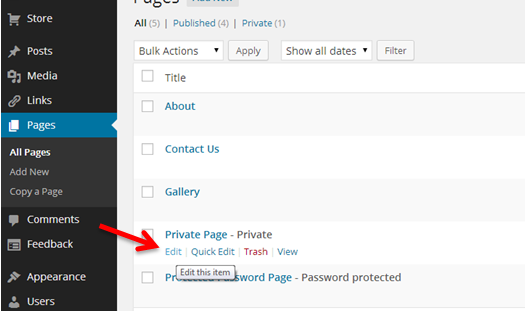
The administrator can access to make changes of the contents only through ‘Pages’ can be found on the left side of navigation and click ‘Edit’.
You have successfully created the Private page.
Hope it helps to improve your WordPress website.