How to Customize Your Theme Menu
WordPress is probably one of the most versatile platforms on the Internet, enabling individuals to build websites easily and without problems. Customizing your theme menu is probably one of the most important processes that you should go through in order to enhance your website’s appearance and make it easily navigable for all visitors.
Whether you use a WordPress-hosted domain or have your personal domain with WordPress platform installed, you can customize your theme menu without too much effort. Follow the step-by-step guide below to learn how you should actually proceed in this regard.
Step One
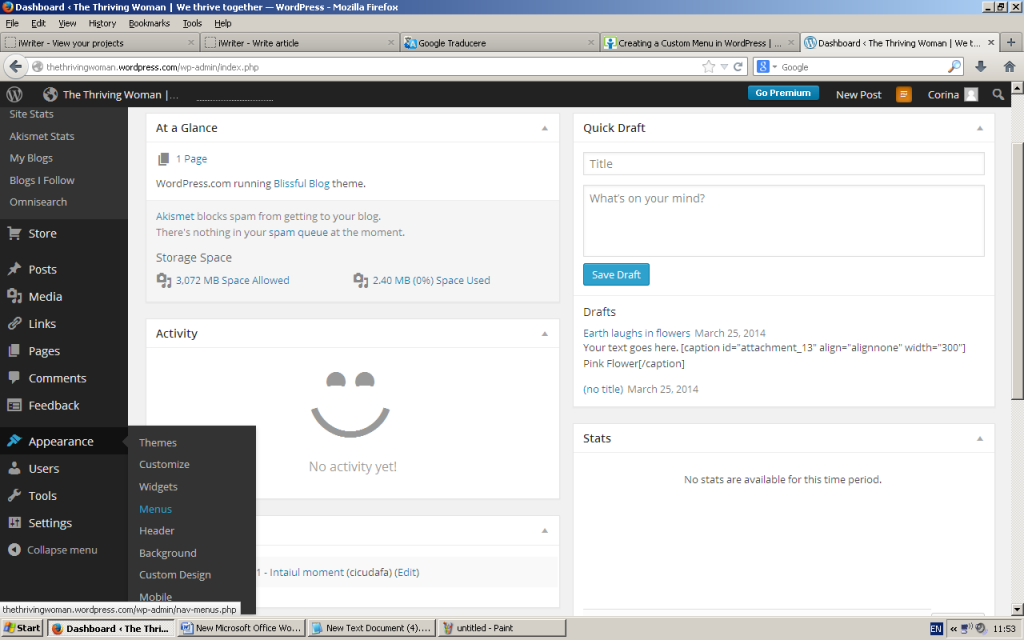
Go to your dashboard (WordPress admin panel) of your website. On the navigation bar located on the left side of your screen, locate “Appearance”, hover it with your mouse and click “Menus”. If your website is not updated, you will have to find “Appearance,” click on it and then select “Menus” from the drop-down-like menu that will appear.
Step Two
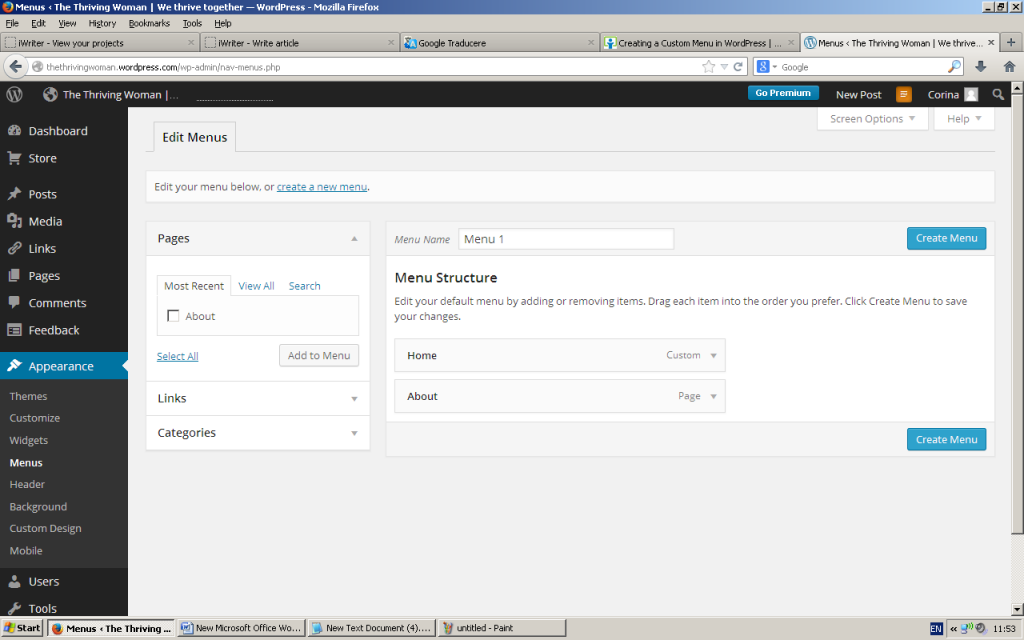
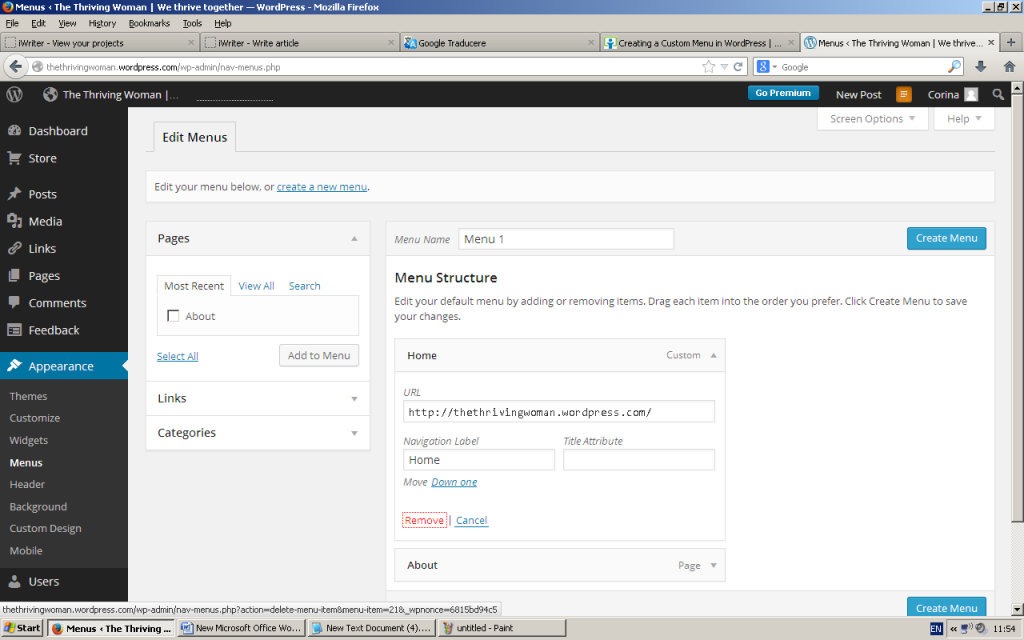
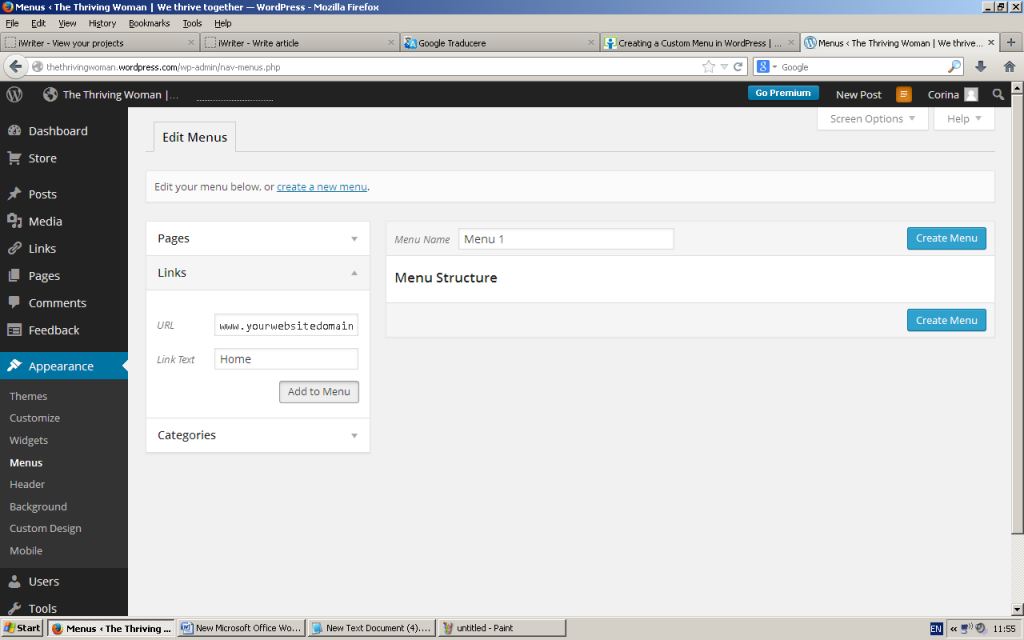
At this point, you should see a whole page with several sections, such as “Menu Structure”, as well as “Pages”, “Links” and “Categories”. If your website does not have a customized menu yet, then there are going to be only two items by default – “About” and “Home”. Remove them all by clicking the arrow next to each other, then “Remove”. Now it is the time to customize your menu.

Step Three
This step is going to be the most complicated one, as you have to go through several phases in order to complete it properly. In the first place, you have to understand that there are several ways to add an item to your menu. You can select the items from post categories or pages, or you can create them by introducing the label of the item and the URL you want it to redirect to.
For example, if you want your menu to contain a “Home” button, you can add this item via the link method – insert the link of your website (e.g. www.yourwebsitedomain.com) in the URL box, name it in the “Link Text” box and click “Add to Menu”. If you want to include one or more post categories, you only have to mark the ones you want to add in the according section, then click “Add to Menu”.
Note that adding a post category to your WordPress menu will result in displaying all posts under that category once a visitor accesses the respective element. As for the pages, you can add the pages you have created within your menu by locating the pages you want to include and clicking “Add to Menu”.

Step Four
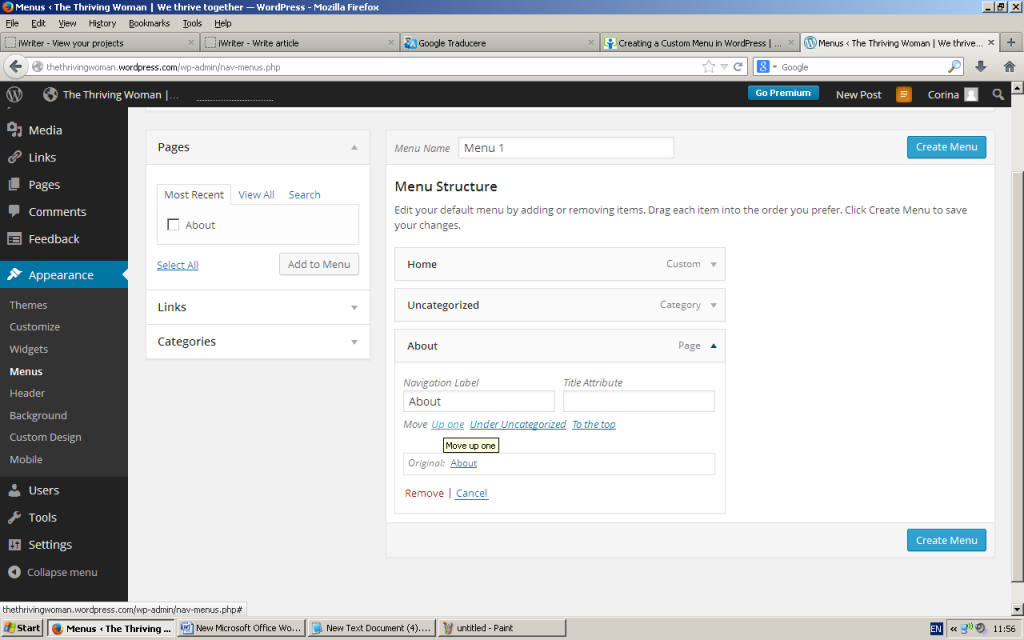
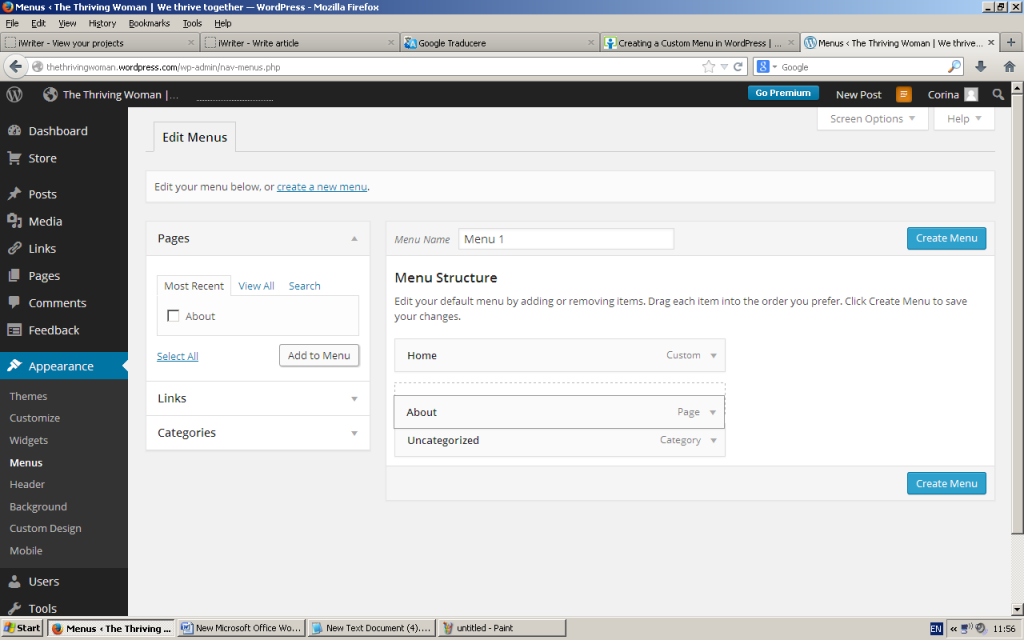
Now proceed to adding all items you want to your menu, making sure not to exceed the maximum value of entries, otherwise they will not be displayed on your website. Once you have done this, the next thing you should be considerate towards is the name of your menu items.
Note that you can change the title any time you want, and instead of “About”, which is the name of your page, you can write “History”, and this is how the item will be displayed in the menu. Make the changes you want, then proceed to the next step.
Step Five
It is the right time to manage the position of your items within your menu. After you have pictured it in your mind, you can start changing positions by simply dragging a specific item to the desired place.
If this option is unappealing to you, then click on the item, then go to “Move” section and select the desired position: ‘Up One’, ‘Down one’, ‘Under Home’, ‘To the top’, ‘To the bottom’. If you want to move it two times upper, you will have to click “Up One” until you reach the desired position.
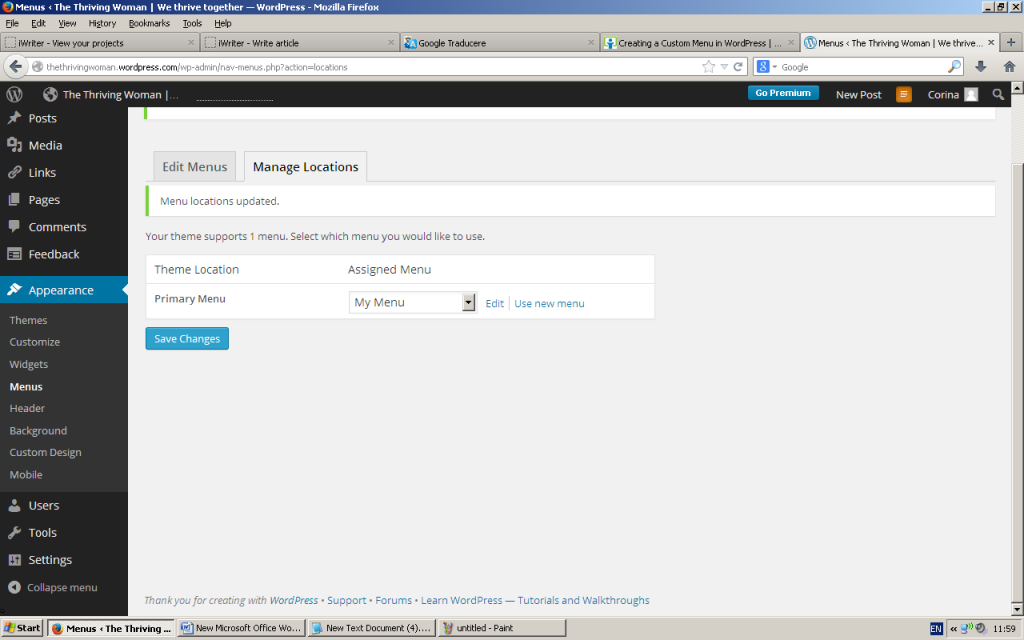
Step Six
Name your menu. You will see a box labelled “Menu Name” just above its structure – change it as desired: for instance, “My Menu”, then click “Save Menu”. Once the menu is saved, you will see another tab appearing next to “Edit Menus” at the top of the screen – “Manage Locations”.
Access that particular tab, and select your menu from the drop-down list labelled “Primary Menu”. You can edit it by using the “Edit” button on the right, or create a new menu by clicking “Use new menu”.
Keep in mind that the location of the menu will be automatically assigned depending on the theme you use. If your theme has several menus, you can select its position and adjust it whenever you want. At the end, click “Save Changes”.