How to Insert and Format Images
Inserting and formatting an image in WordPress is relatively simple, involving only a few essential steps everyone can do without problems. Whether we talk about websites hosted by WordPress or websites that have this platform installed, the process you have to go through is the same, and thankfully, you do not need coding or programming skills for that. If you want to learn how to insert and format an image in WordPress, simply follow the guide below and make sure to respect all instructions carefully.
Step One
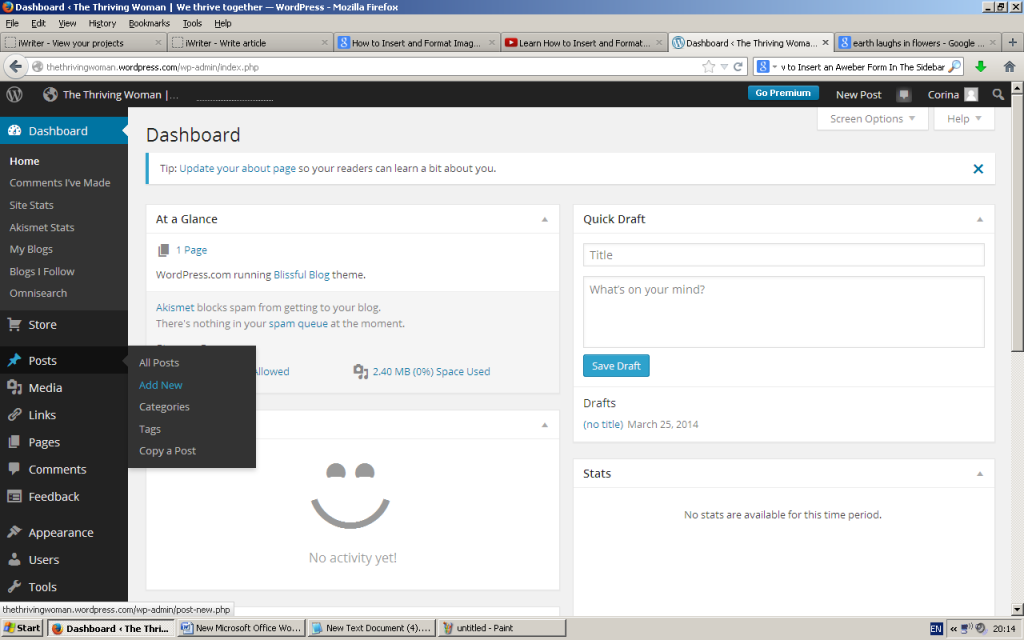
Go to your website’s dashboard in WordPress, and make sure to have it properly installed to your database before proceeding further. Locate “Posts” on the navigation bar on the left side of the screen, hover it with your mouse and then click “Add New”.
If you do not have the latest version of WordPress installed (and your admin dashboard interface is different from the one in the images below), you will have to locate “Posts” on the navigation bar, click on it and then wait until a drop-down-like appears. Click “Add New”.
Step Two
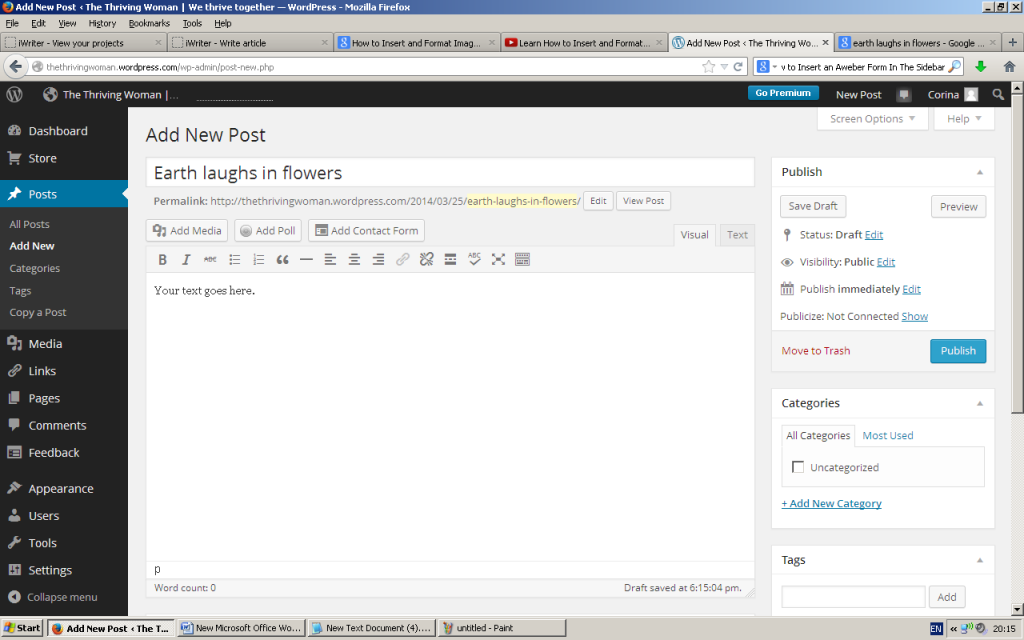
At this point, you should see a page with the title “Add New Post”, followed by a title box and a text box right below it. On the right side, there are several fields labeled “Publish”, “Category”, “Tags” and “Featured Image”.
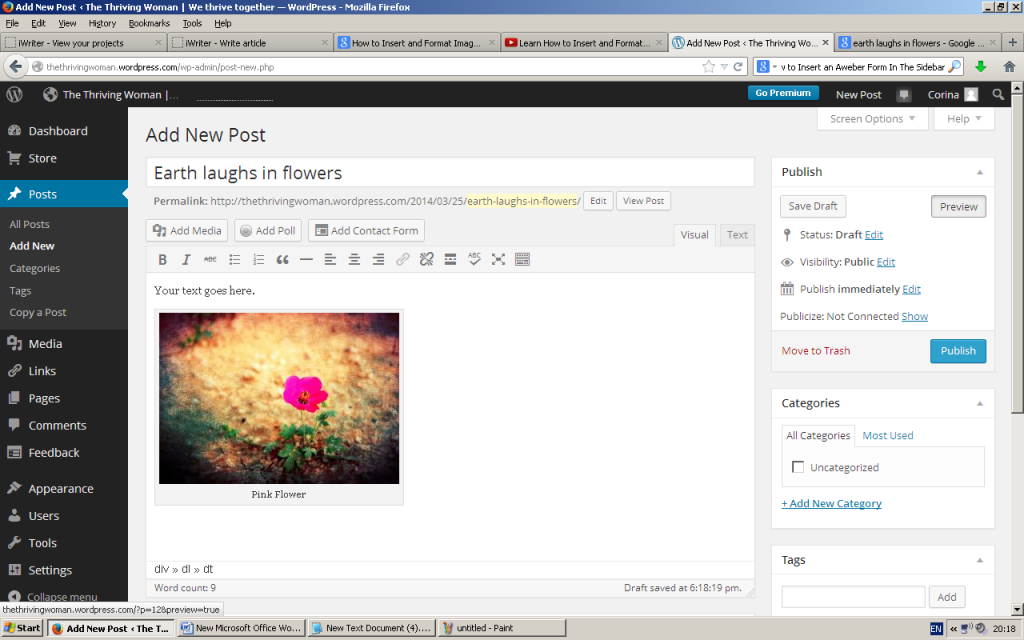
Note: depending on the theme you are using, there might be other fields located on the right side. To proceed with inserting an image, you have to first type in a title for your post – let’s say, for instance, “Life laughs in flowers”. Now go and write the desired text in the box below the title – in this example, “Your text goes here”.
Step Three
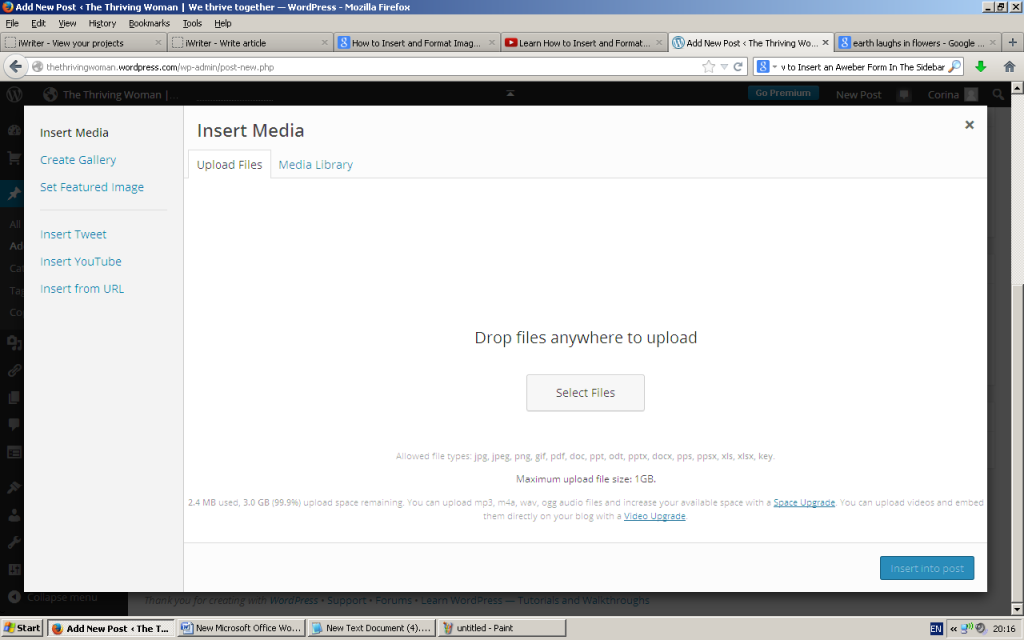
Now you are ready to insert an image. Under the title box, you will see three buttons: “Add Media,” “Add Poll,” and “Add Contact Form” – click the first button, “Add Media”. If you intend to upload a picture directly from your PC or laptop, click “Upload Files”, then “Select Files”.
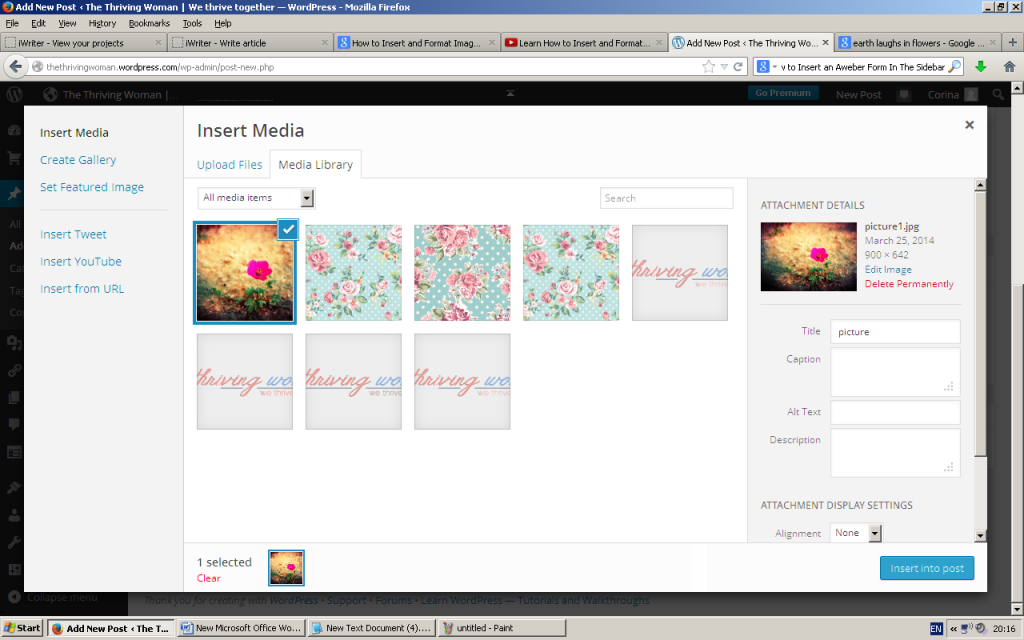
If you already have the picture uploaded, go to “Media Library” and look for your picture. If you want to add the picture through an URL, click “Insert from URL” on the left side.
Step Four
Once the image was uploaded, it will be automatically selected and you will see different settings on the right side, which will enable you to format the image as desired. If you want to edit the image, click “Edit Image” under “Attachment” (right under upload date and dimensions).
You will be able to crop, rotate or flip the image as desired using the buttons located at the top. To crop it, simply insert the desired size in the two fields located under “Image Crop” on the right side or drag a rectangle directly on the image. After you have finished your editing, click “Save” and you will be redirected to the previous screen.

Step Five
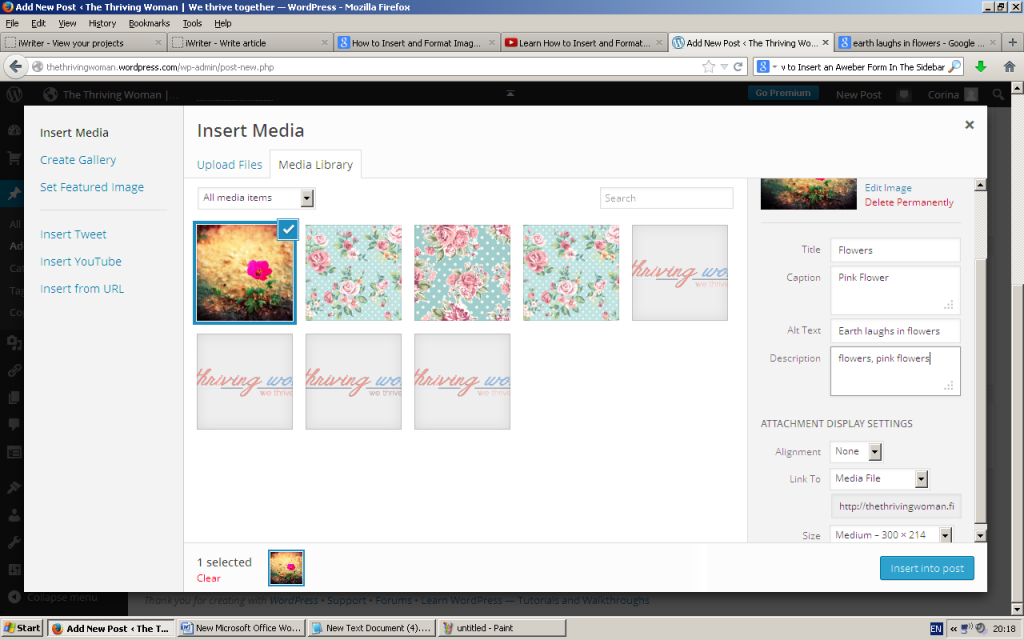
There are several boxes under “Delete Permanently”, and you will have to complete them all if you want to improve your current SEO strategy. In the “Title” box, insert the name of your image – for instance, “Flowers”, or anything else you would like. The “Caption” is the description of the image – for example, “Pink Flower”.
The “Alt Text” is helpful for SEO, and it is displayed whenever someone hovers the image with the mouse – you can insert, for example, “Earth laughs in flowers”. The “Description” box should include mostly relevant keywords that can generate traffic on your website – e.g. “flowers, pink flowers”.
Step Six
After you have completed the “Description”, you will see another category labeled “Attachment Settings” below it. To determine the position of the image, choose either left, center or right from the drop-down menu labeled “Alignment”.
If you want the image to redirect to a specific page, select “Custom URL” from “Link To”; otherwise, leave it as is. You will be able to also select the size of the image in your post: thumbnail, medium, large and full size.
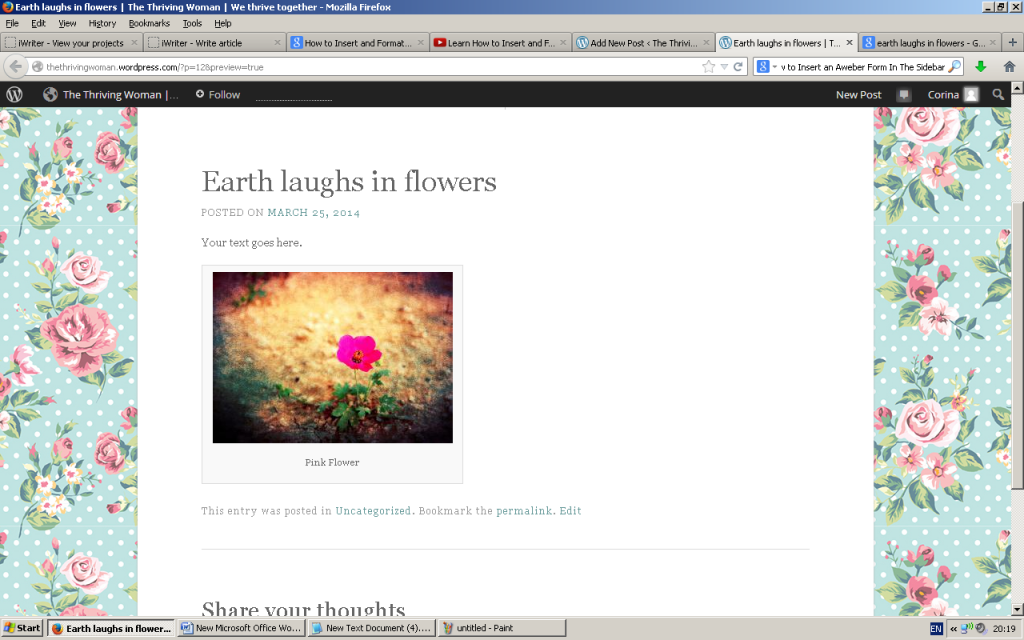
Note that the dimensions will vary from a picture to another depending on their initial size. After you have format the picture, click “Insert into post”. Click “Preview” if you want to see how it will look like, then click “Publish” if you like it.
If you do not like it, you can edit image settings by clicking on the image, then on the pen icon that will appear. This will enable you to modify title, caption, alt text, description and alignment. After the settings are adjusted as desired, you can click “Publish” to save the post.