How to Install and Configure W3 Total Cache Plugin
What is W3 Total Cache?
W3 Total Cache Plugin is fastest WordPress performance optimization plugin. It is an alternative for WP Super Cache WordPress plugin. You can easily optimize the user experience and total cache of your site with caching and proper wordpress training. The W3 Total Cache improves user experience of your site by enhancing the server performance, reducing download time, providing CDN (content delivery network) integration, and caching any aspect of your site.
Benefits
- Improved site performance when fully configured
- Prompt second-page views (after first page view, browser cache
- Minimum page load time leading to increased visitor time on site
- Optimized advanced render (instant loading of pages)
- Improved performance of web server (sustain high traffic spikes easily)
How to install W3 Total Cache
The first step is to deactivate and delete any caching plugin like WP Super Cache you may be using. If you fail to do this, then plugin will develop issues upon activation.
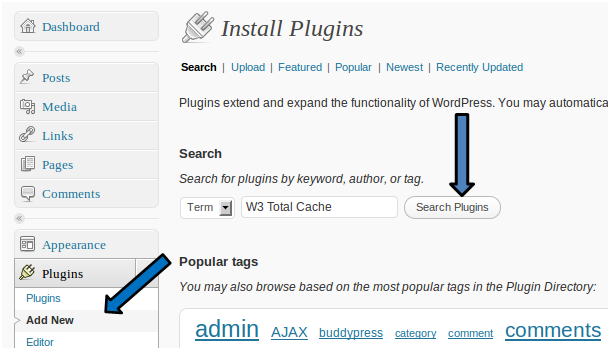
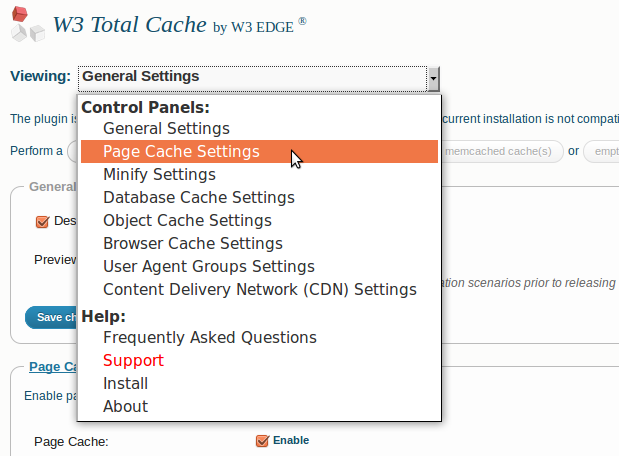
Its installation is similar to other plugins. Go to the WordPress admin panel and click on the plugins. Then click on Add New, in the given search box search for ‘W3 Total Cache’. Click on ‘Install Now’ after that click ‘Activate’. If you want a different option, you should first download the plugin, extract, and upload it to your plugins/directory/wp-content. Activate plugin, once you have done this, a new menu will appear on your WordPress admin panel known as “performance”. Finally, click on the performance tab and enter configuration area of W3 Total Cache Plugin. You should see results like this image below:
How to Configure W3 Total Cache
W3 Total Cache is a powerful and useful WordPress plugin and it offers massive options.
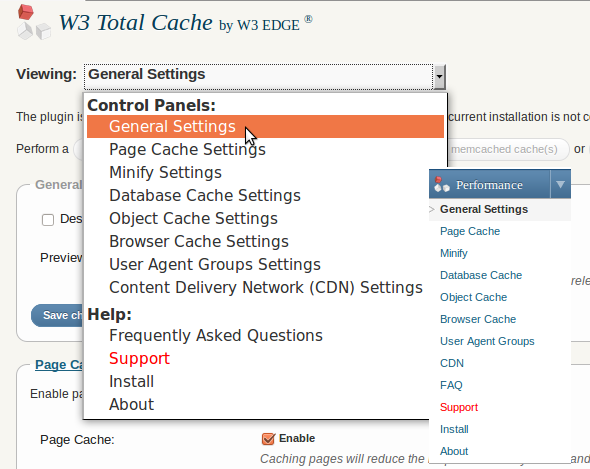
General Settings
On the general settings page, confirm by viewing any two of these options:
At the enable or disable preview option, click on disable because the site is running W3 Total Cache fairly than simply previewing it.
Next option is the Page Cache. Click on enable page cache to reduce the sight load time. Your final setting in this area should look like this:
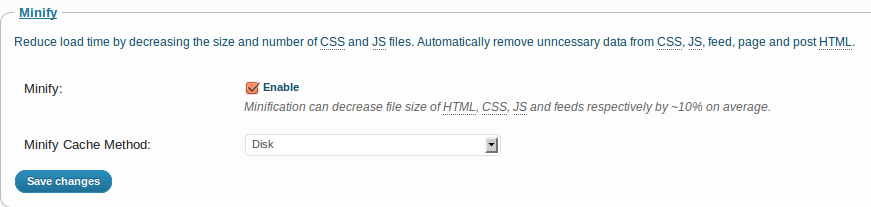
Next option after page cache is Minify. It reduces the size of your JS files, CSS files, posts, HTML files, RSS, and pages. Minify eliminates unnecessary data viz., comments from the code, white spacing, which increases sight load time by 10 percent. The final screen result would look like this:
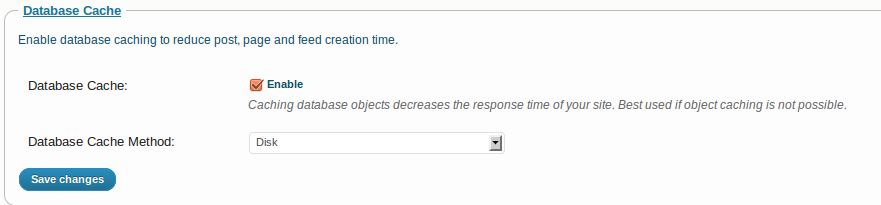
Next option is the Data Base Cache. High load of database queries often slows site down and can crash the site during high traffic. Data Base Cache speeds up your site by more than 100 times. Your final setting in this area should look like this:
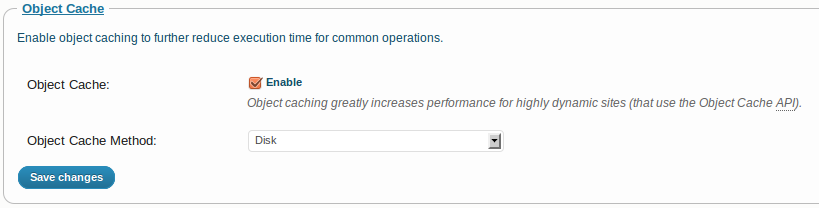
Coming to object cache, it greatly increases performance of high dynamic sites using Object Cache API. You can further reduce execution time of common operations by enabling object caching.
The next option after Object Cache is the Network Performance and security powered by CloudFlare. Sign-up to CloudFlare to start up or simply log in if you have an account to get APIkey from the Account Page to enter all the settings. The final setting for this area should look like this:
Content Delivery Networks (CDN) is the next option. W3 Total Cache supports NetDNA, Amazon Cloud Front, Rackspace Cloud, Amazon S3, and MaxCDN. This section applies only to sites using CDN, or sites planning to use CDN. You should use sub-domain (Mirror) as the CDN. Sample screen of a person who uses mirror as CDN will look like this:

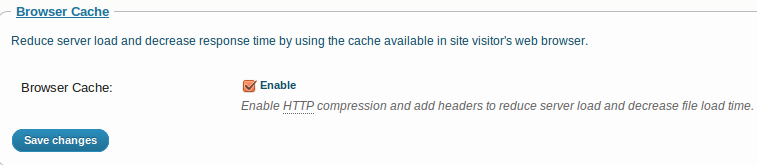
The last option is the Browser Cache. This enables compression of HTTP and adds all headers to minimize server load and reduce file load time.
Page Cache Settings:
If you have enabled page cache, let me show you other available options that you can yank. Ensure that you can see the Page caching via disk (enhanced)’ is at this time enabled. Failure to see this, I guess you are not doing the correct thing. Go back to the general settings and then enable it. I have selected this option to prevent caching of pages of logged in users like the administrators. The main reason for this is, if you want to see any change that you make on your live site before it goes live, you can do so. The next option is the cache homepage. This is the most visited page on several sites. It will be a good idea to ensure that categories, tags, and Cache feed is checked since thousands of people go through the website categories every day. I have selected the option to cache the 404 pages.