How to Add or Delete Categories
WordPress is probably one of the most accessible and versatile platforms on the Internet, enabling all individuals to create websites that can be successfully customized as desired. In today’s lesson, we are going to talk about post categories and how they can be added or removed.
Thankfully, no coding or programming skills are actually necessary, and all individuals, regardless of their experience, will be able to easily create categories for their posts, or remove them later if necessary. Follow the step-by-step guide below in order to find out how to add or remove post categories in WordPress.
Step One
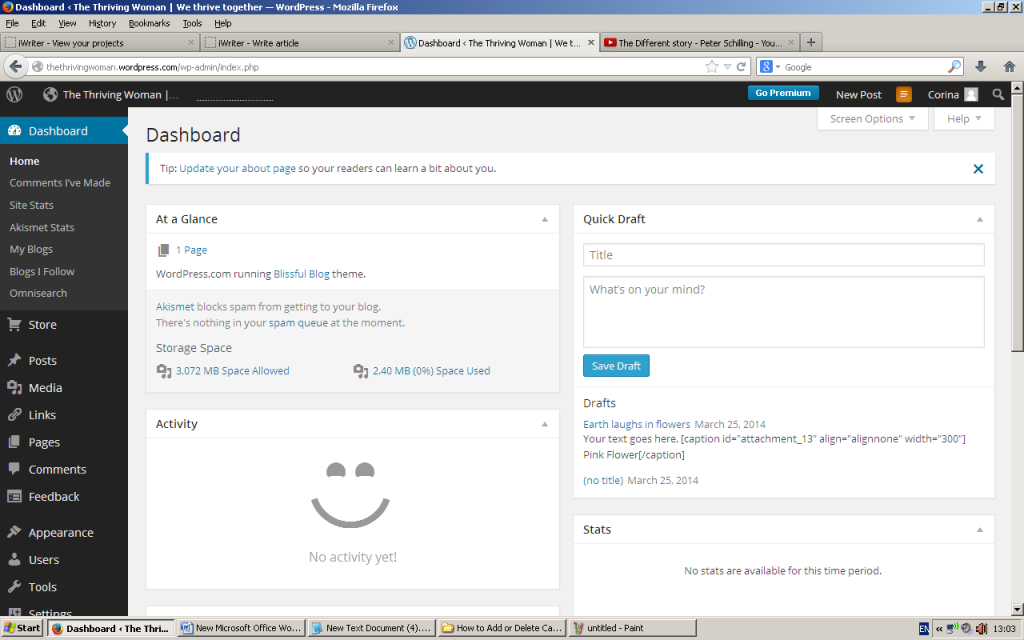
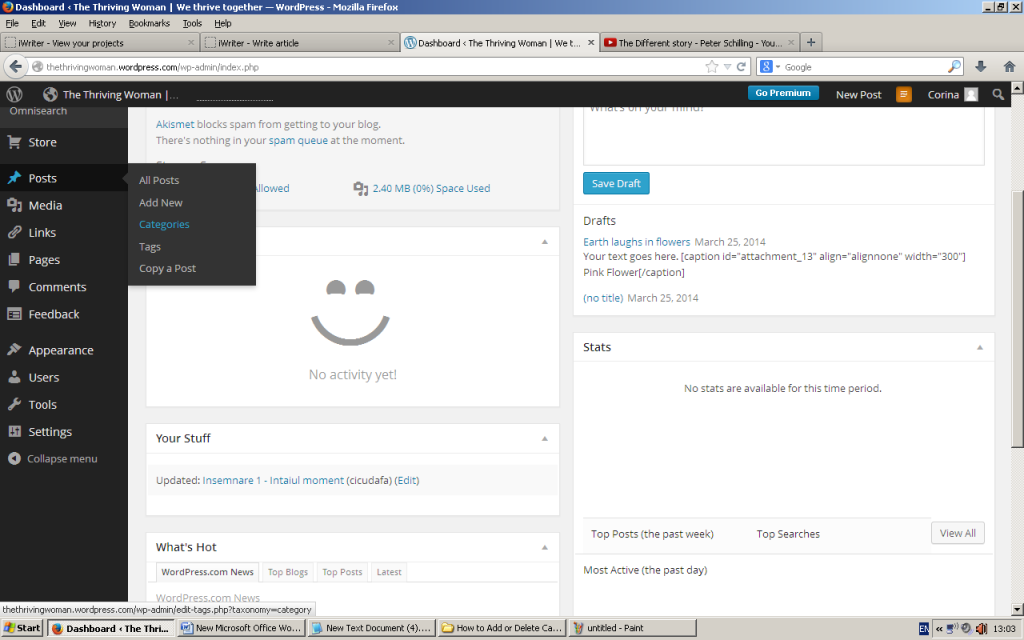
Note: If you have your personal domain, make sure to have WordPress platform installed to your database before proceeding. Go to your dashboard (WordPress admin panel), and locate “Posts” section on the navigation bar on the left side of the screen, hover it with your mouse and click “Categories”.
If you do not have the latest version of WordPress installed (applicable only if you have your personal domain), you have to locate “Posts” on the navigation bar, click on it and then click “Categories”.
Step Two
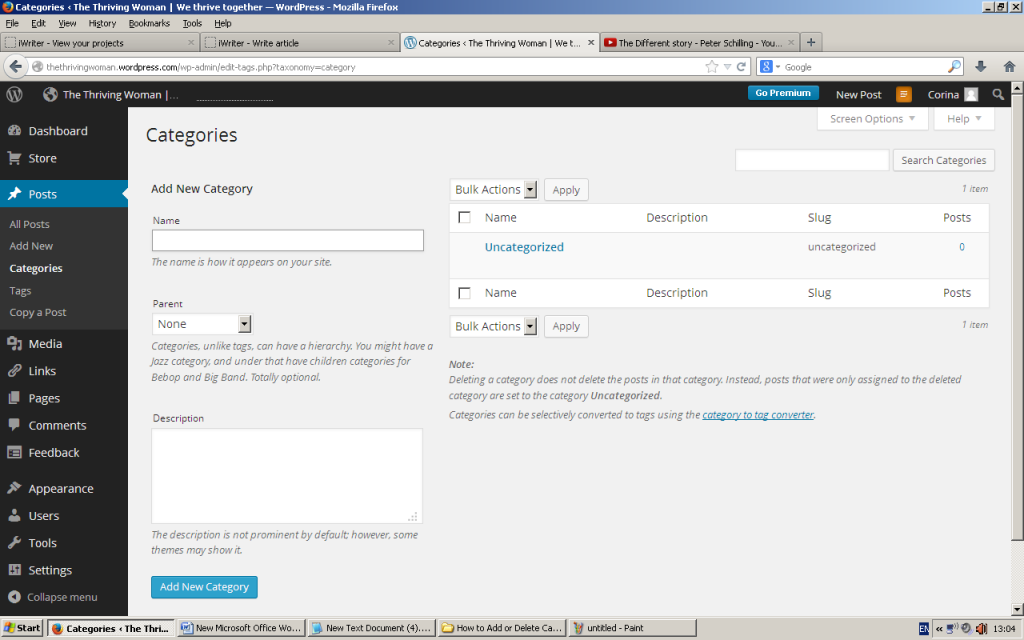
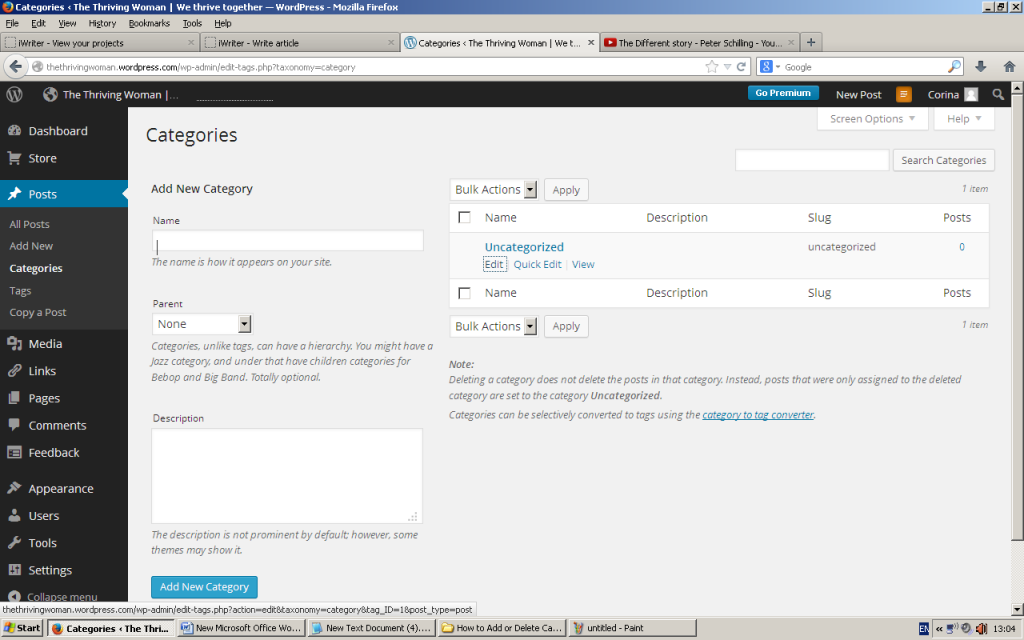
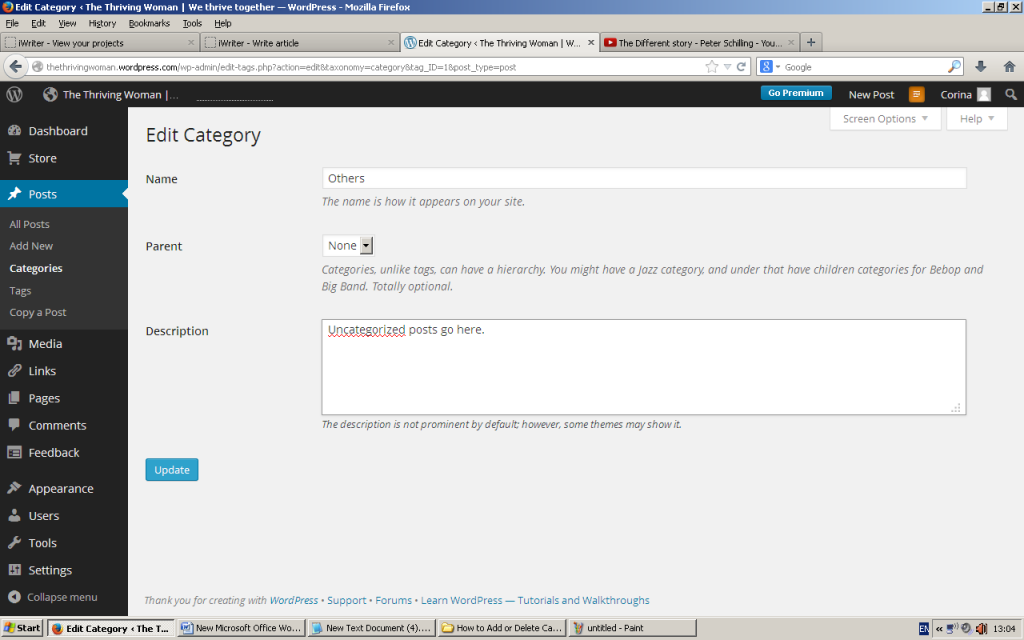
Assuming that your website does not have any categories yet, you will see only one category, “Uncategorized”, which is the default category where all posts will be placed. Chances are that you might forget adding a category to a post at a point, which is why you should have a default category. Instead of deleting it, hover it with your mouse and click “Edit”. You will see three fields labeled “Name”, “Parent” and “Description”. Change the name of the category (for example, “Others”), leave the parent field as is and consider whether you want to add a description for your category, as well – let’s say, “Uncategorized posts go here”. Now click “Update”.
Step Three
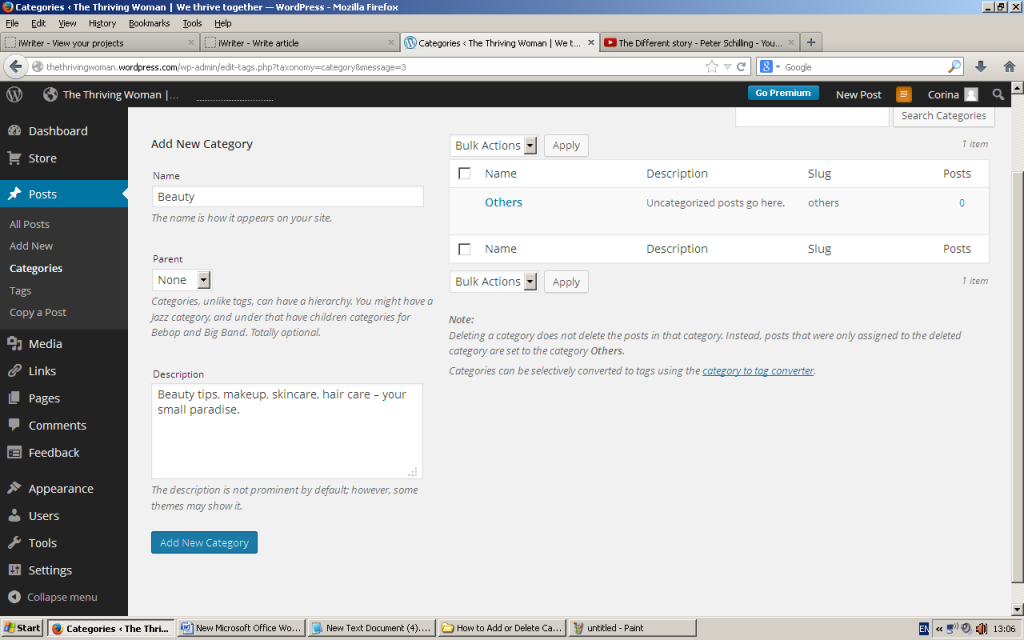
Now that you have edited your default category, it is the right time to start creating new ones. Locate “Add New Category” right below “Categories” on the main screen. Exactly as you have seen when you edited your default category, there are three fields you have to complete: “Name”, “Parent” and “Description”.
In this example, we are going to name the first category “Beauty”; the parent category will be left as is (unless you want to make it a subcategory and select “Others” as parent category), and the description is optional, but it can fill in. For example, “Beauty tips, makeup, skincare, hair care – your small paradise”. Now click “Add New Category”, and your category will automatically appear on the right side.
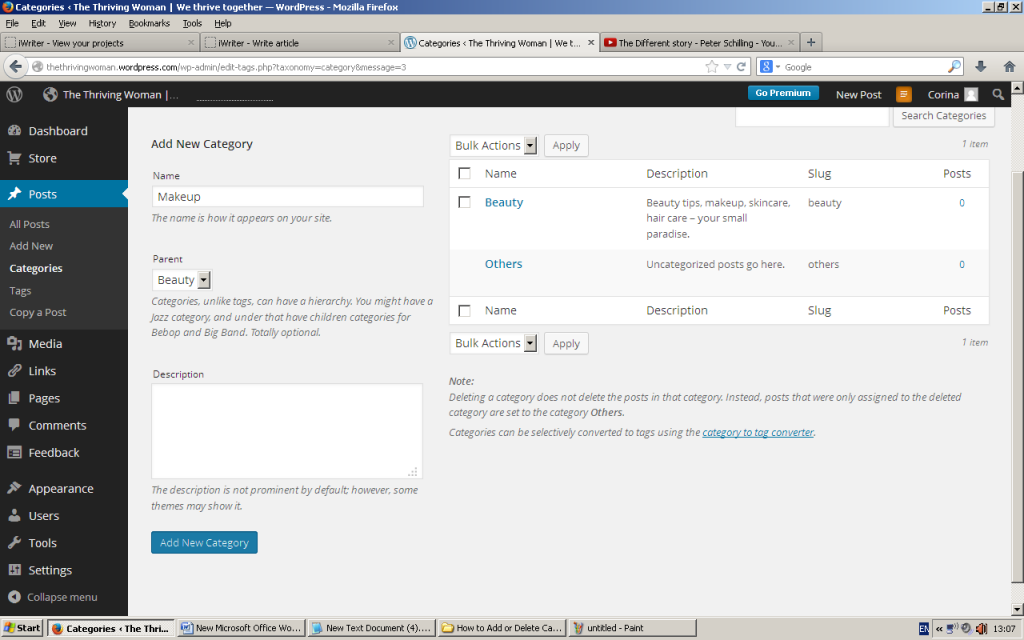
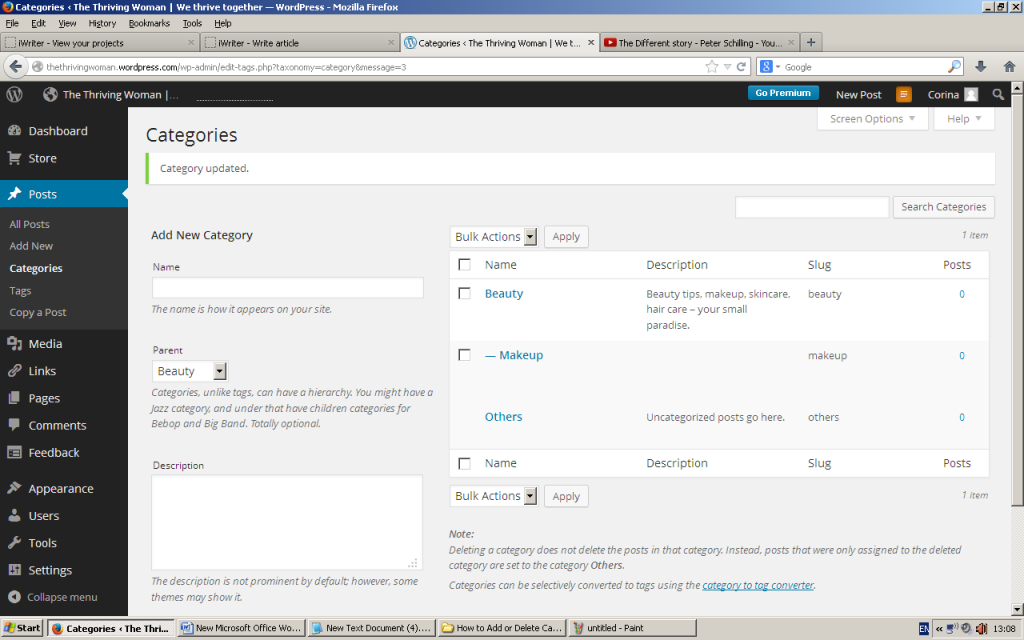
If you want to add several subcategories to one of your category, you have to go through the same process as above, but select that particular category as parent. For example, we are going to add “Makeup” as a subcategory for “Beauty” (the one we have just created). We are going to write “Makeup” in the title field, select “Beauty” as parent and leave this subcategory without description this time. Now click “Add New Category”, and it will appear listed under “Beauty”.
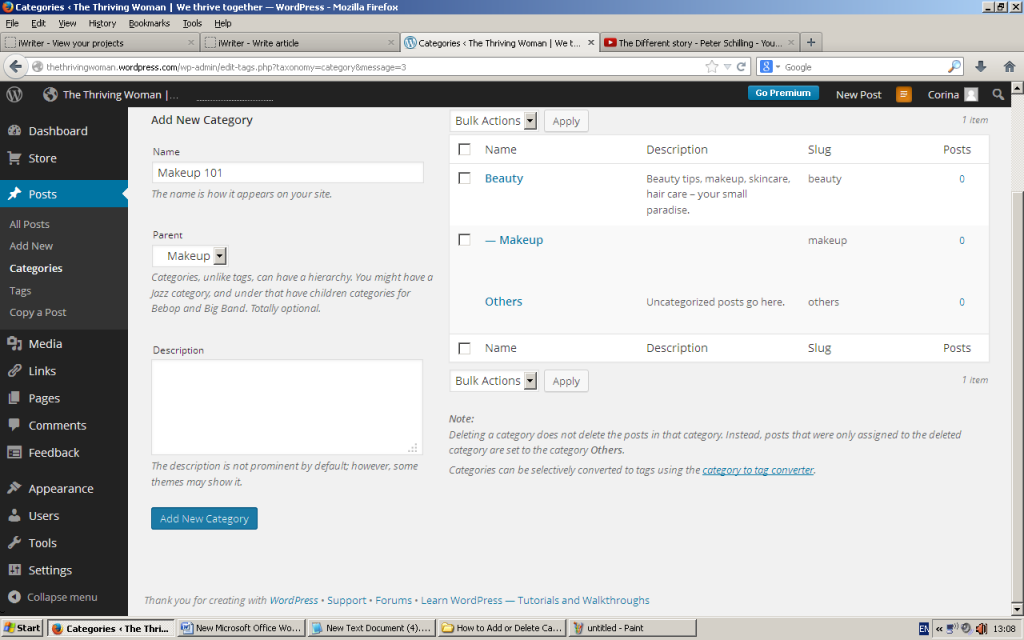
You can also add a subcategory for ‘Makeup’ such as ‘Makeup 101’. From there, you can proceed to another step but you have to check if you select “Makeup” as parent category.
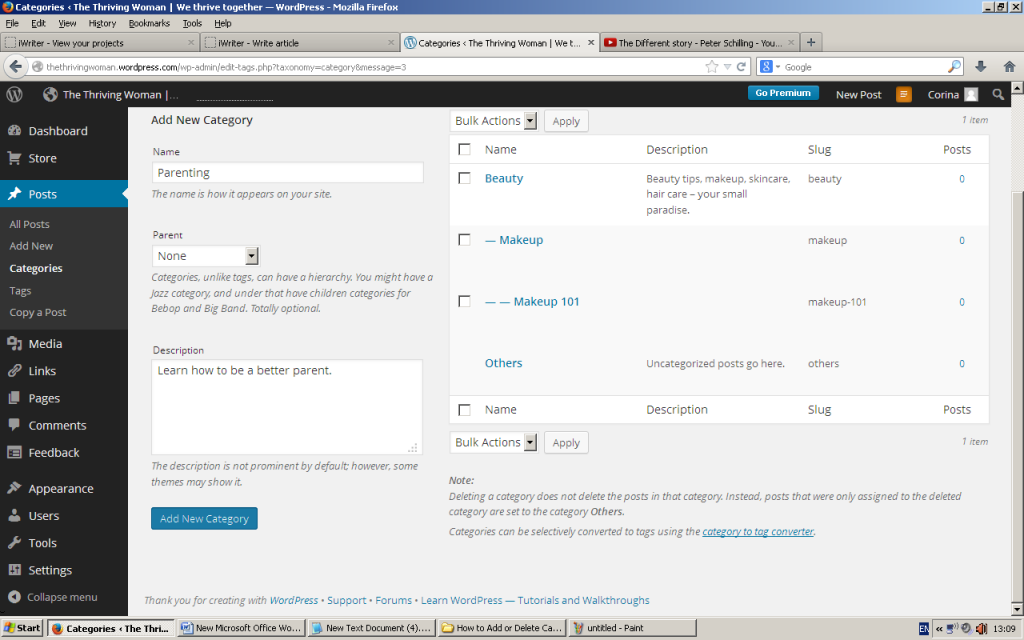
Now let’s add another category. This time, our category will be named “Parenting” – insert “Parenting” as name, leave the parent on “None”, and type in a short description if you want such as “Learn how to be a better parent”.
Click “Add New Category” and it will be automatically listed as an existent category on the right side.
Now add your categories and subcategories with the names and descriptions you want, making sure to remember the process above.
Note: the slugs will be automatically created for each category when you add them. When you edit a category, you will have to edit its slug as well, otherwise the old one will be displayed and used by search engines.

Step Four
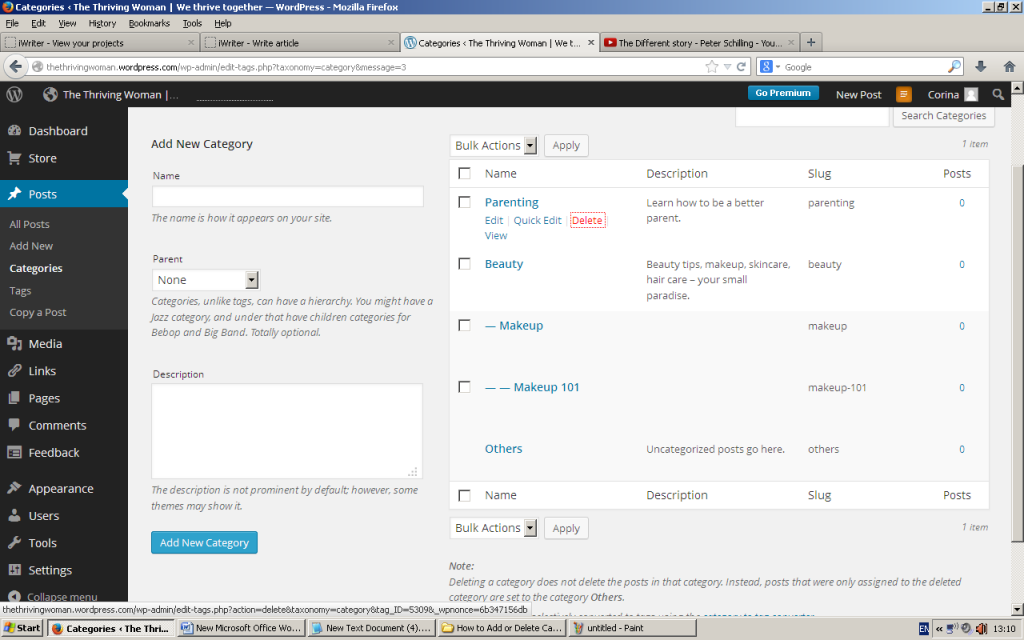
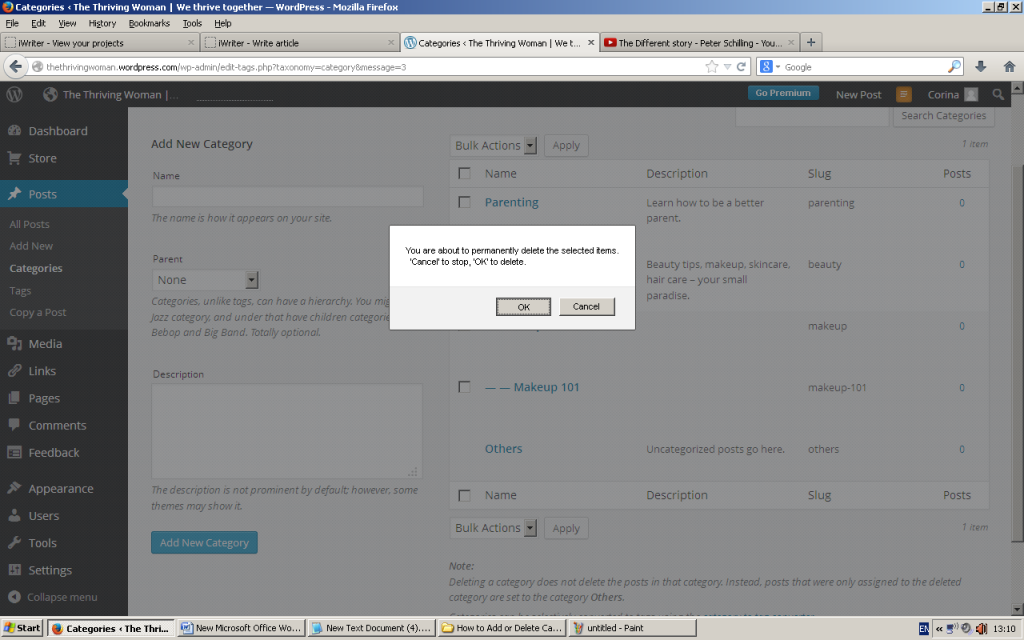
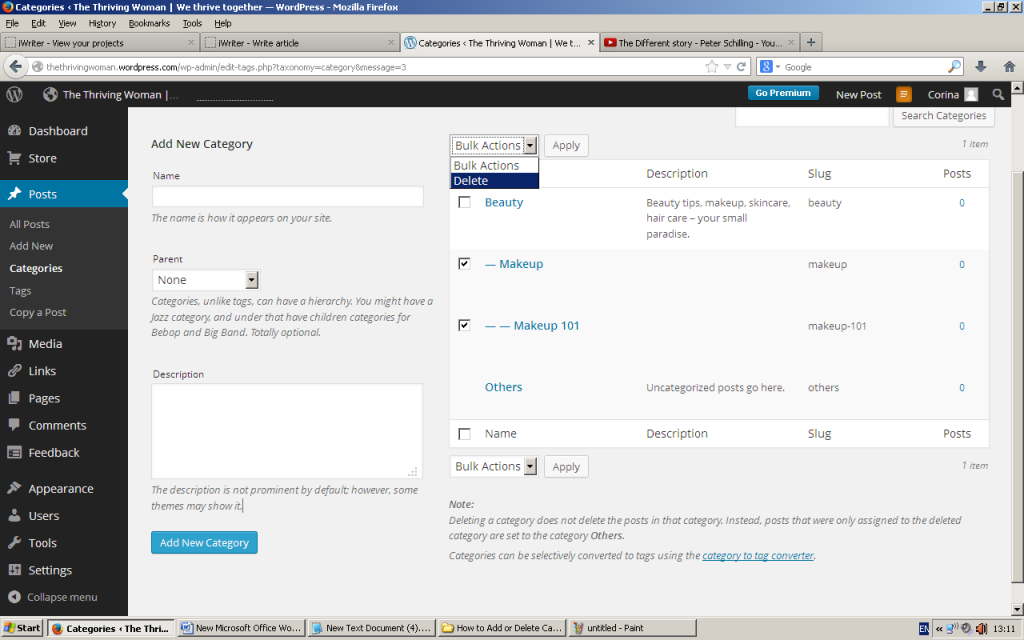
At this point, you learned how to add categories and subcategories. Now let’s delete a category. Locate the category that you want to delete, hover it with your mouse and click “Delete”, which is written in red, compared to the other three options – a window will pop up; click “OK”. If you want to delete several categories and subcategories at the same time, you can mark the box next to them, go to the very bottom or top of the screen, and select “Delete” from the drop-down menu and then click “Apply”. You will be redirected to a screen stating that the categories were successfully deleted.